Professional
Long Arm
Quilting Services
Showing posts with label Logan's life. Show all posts

Wednesday, December 11, 2013

Fresh and a Giveaway

Hi everyone! If you're joining me from Sew Mama Sew's giveaway week, then welcome!! Just a bit about me; my name is Logan and I'm a mom to 4 amazing kids and wife to a great guy who supports my quilting addiction. My mom and I own a longarm quilting company called Chocolate Dipped Quilts and this blog is where we show off some of our work. This year, I have been trying to sew my way through Camille Roskelley's book Simply Retro while following Jana's quilt-along. 
I wanted to finally share these blocks from the very last quilt in the book, Fresh. They are huge, measuring 24" x 24". The pattern calls for 16 blocks, making this a ginormous quilt. I obviously haven't gotten quite that far yet. I definitely spend more time quilting for others than I do piecing for myself. The fabric is called Bake Sale by Lori Holt. I have all cut out and it has been sitting on my sewing room floor in piles. I should probably get piecing before those piles end up all over my house!
I have sewn up at least one block from each of the patterns in this book and it's my goal in 2014 to finish them all up, including quilting and binding them. Follow me along to see the final projects! Or feel free to browse back a bit to see some of the work I have done. 
My book has been read through a million times. I wish you could see better how tattered this book is compared to the new one I just bought. Since I have LOVED this book and all the patterns in it so much, I wanted to give away a copy to one of you!! 
Just leave a comment about any quilty thing that you're currently loving for a chance to win Camille Roskelley's book Simply Retro! Follow me on Bloglovin' (or another reader) for an extra entry and then leave a comment saying you've done so. Giveaway ends on December 13th at midnight and I will announce the winner the next day. 
Make sure to leave an email address if you are an anonymous blogger. 

This giveaway is now closed.

Sunday, November 24, 2013

Texas Stars


This week my family and I have been playing it up in Texas! It's my first time here and it's a lot different than I imagined it would be. I haven't seen a cactus yet which according to all the cowboy cartoons, should be all over the place ;). Also, it's been freezing here! 60 degrees (with the humidity) in Texas is a lot different than the 60 degree (dry) weather in Utah. Even still, we've managed to have a ton of fun. Both my husband's sister and my older sister live in Texas, and fortunately, only a few hours away from each other so it's worked out that we could see both families.

My sister and I are a little less than two years apart in age so we've always been pretty close, minus the typical sibling fights of course...oh the stories we could tell ;). So it's been so much fun to hang out with her! Since I knew I was coming down, it worked out perfectly for me to get this machine quilted so I could bring it to her in person instead of mailing it like usual.
I'm glad to report that she loved the quilting. I may just have to make coming to Texas my new way of shipping her quilts!

I'm linking up at: Sew Many Ways, Skip To My Lou, Quilt Story, Sew Much Ado, Seven Thirty Three, Someday Crafts

Thursday, October 31, 2013

One Last Halloween Quilt

Kelsey is starting to catch the quilting bug and she loves Halloween more than anyone I know, so it's only fitting that she made herself a fun witchy quilt. 
Of course, we had to quilt it with spiderwebs and add in the cute haunted houses (kinda like the one from a few weeks ago). You can see a few of the other haunted houses going in different directions and on different colored blocks. 
This will be the perfect cozy quilt to cuddle up with tonight on Halloween. Good thing she finished the binding right in time, like as in last night. ;) But really, I can't talk. I still haven't finished the binding on my Halloween quilt. Oops! I guess there is always next year. 
 Hopefully you have some great plans for tonight too! As for me, I'm off to school parades, class parties, dance parties, picking up friends, dropping off friends, running kids around, and last but not least; trick or treating tonight! Whew, good thing there will be chocolate!

From my family to yours, Happy Halloween!!!


Monday, August 26, 2013

Dwell & Playground - Simply Retro

If you've been following along with Jana's quilt along, you'll know that I missed last weeks post for the quilt along. I actually had a few blocks finished and ready to post but was just a minute or two too late to add them to Jana's link party and since the rest of the week was so crazy I never got around to posting them at all. I'm sure you can guess what was so busy around here, probably the same thing that's going on in your neck of the woods too. 
 I now have all three of my boys in school all day so it's just me and my little girl left at home. We are going a little crazy but I'm sure we'll figure out our days soon enough. 
Today during her nap time, I was able to sneak downstairs and finish this little house up. The quilt is called Dwell and has a total of 16 houses. I actually decided to just do one block but make it half size so I could frame it and use it for some decor on my mantle. I think it turned out pretty cute! This was such an easy block, I am tempted to go make more, only regular size, for a wall hanging. Plus it uses up scraps, can't beat that. The hardest part was figuring out the math to make it smaller. 
 Here are a few pictures of the blocks I did for last weeks quilt, playground. The fabric is called Simply Style by V and Co. I took the pictures in the evening so the coloring isn't the greatest. But at least you can see how cute of a quilt this is going to turn out to be. 
 The next quilt in Camille Roskelley's book Simply Retro is called Adorn and is a darling wall hanging. I'm headed downstairs to work on it now!
I'm linking up with:  Jana, Sew Many Ways, Quilt Story

Tuesday, June 18, 2013

Shop Hop

Last week my mom and I were able to visit some of the quilts stores that were involved in the Wasatch Front Shop Hop. We've made this a little tradition and it's been so fun! I kept forgetting to take my camera in at each stop so I'll share just a few pictures. 
The theme this year was games and it was a lot of fun to see how each shop decorated and the games they played. Here we are at Corn Wagon's in Springville. Their game was Monopoly. They really got into their theme with all the costumes and fun things they had going on. 
This is their shop hop quilt. It was my mom's favorite of all the shop hop quilts. You can see all the little houses that go around the quilt, kinda like in the real game of Monopoly. If you look close you can also see all the vintage goodies they had found.
Quilts, Etc. in Sandy had the most elaborate set up. Their theme was Where's Waldo and they really did a great job with it all. This is my mom's go to quilt shop and we knew they wouldn't disappoint. I wish we would have gotten a better picture of the pizza shack they had set up, it was so great. Also, their shirts were pretty fun too. We love this place. 
One of my favorite shops is Pine Needles in Midvale. I like that they carry a lot of the more modern fabrics and they seem to always have all the fabrics from each line. Their shop hop quilt was my favorite, probably because it was more modern. My mom and I laugh because our styles are usually so different. 
 We only missed out on a few of the shops this year but we still had a blast. Can't wait until next year to do it again!

Monday, May 13, 2013

Giveaway Winner Announced


I had a wonderful Mother's Day yesterday and hope that you all did too. I love being a mom so much and am so grateful for these little blessings in my life, who are growing way too fast!  It was nice to be able to go see my own mom on Mother's Day too. She really is such a good mom to me. From the comments on the giveaway post, you all have wonderful moms too. I was so excited to see all the kind words you all have about having good moms and about enjoying being moms.
 It truly made me so happy because I know motherhood is such a great blessing and such important work. 
Blogger
The winner of the fat quarter bundle and long arm quilting gift certificate is Angelia Lanouette who said: "I love my mom because she is always giving to others and never expects or asks for anything in return. I love being a mom because I have two wonderful grown boys (I mean men) who make me very proud."
Congrats Angelia, I will send you an email with all the info. 


I love all the little gifts that my family gave to me. The kids all made cute things for me at school and my husband   ordered Camille Roskelleys new book: Simply Retro. I love when my kids fill out these all about my mom papers. I found it so funny that he said I really like to "sew quilts for her quilting blog". Ha! It's so true. He also said that I like to kick my kids out of my room and take a 1 hour long nap. He knows me so well! 
 I was so excited to see that my husband ordered Camille Roskelley's new book: Simply Retro. I was really proud of him for doing it too. I told him a week or so ago about it to give him plenty of time to get it ordered, but knowing that he isn't usually a planner, I figured he wouldn't have it in time. He really surprised me. Way to go hubby!
On Camille's blog, she let us know that one of her readers, Jana, will be doing a quilt-along through the whole book. I really want to do this! I'm going to try to do it (and use up as much of my scraps and stash as possible). It would be fun if you all did it too, so we can follow along together. All of the quilt patterns in the book are so cute so it's not hard to get motivated. 

Also I wanted to remind you all that we are still offering 20% off all of our long arm quilting services through the end of May. Email us at chocolatedippedquilts@gmail.com for more information or with any questions. 


Monday, May 6, 2013

Moms are great - Giveaway!

GIVEAWAY IS CLOSED. WINNER WILL BE ANNOUNCED MONDAY.

UPDATE: By happy accident, I found out that sewmamasew.com is hosting a giveaway day this week. Head over to enter to win a ton of great prizes!

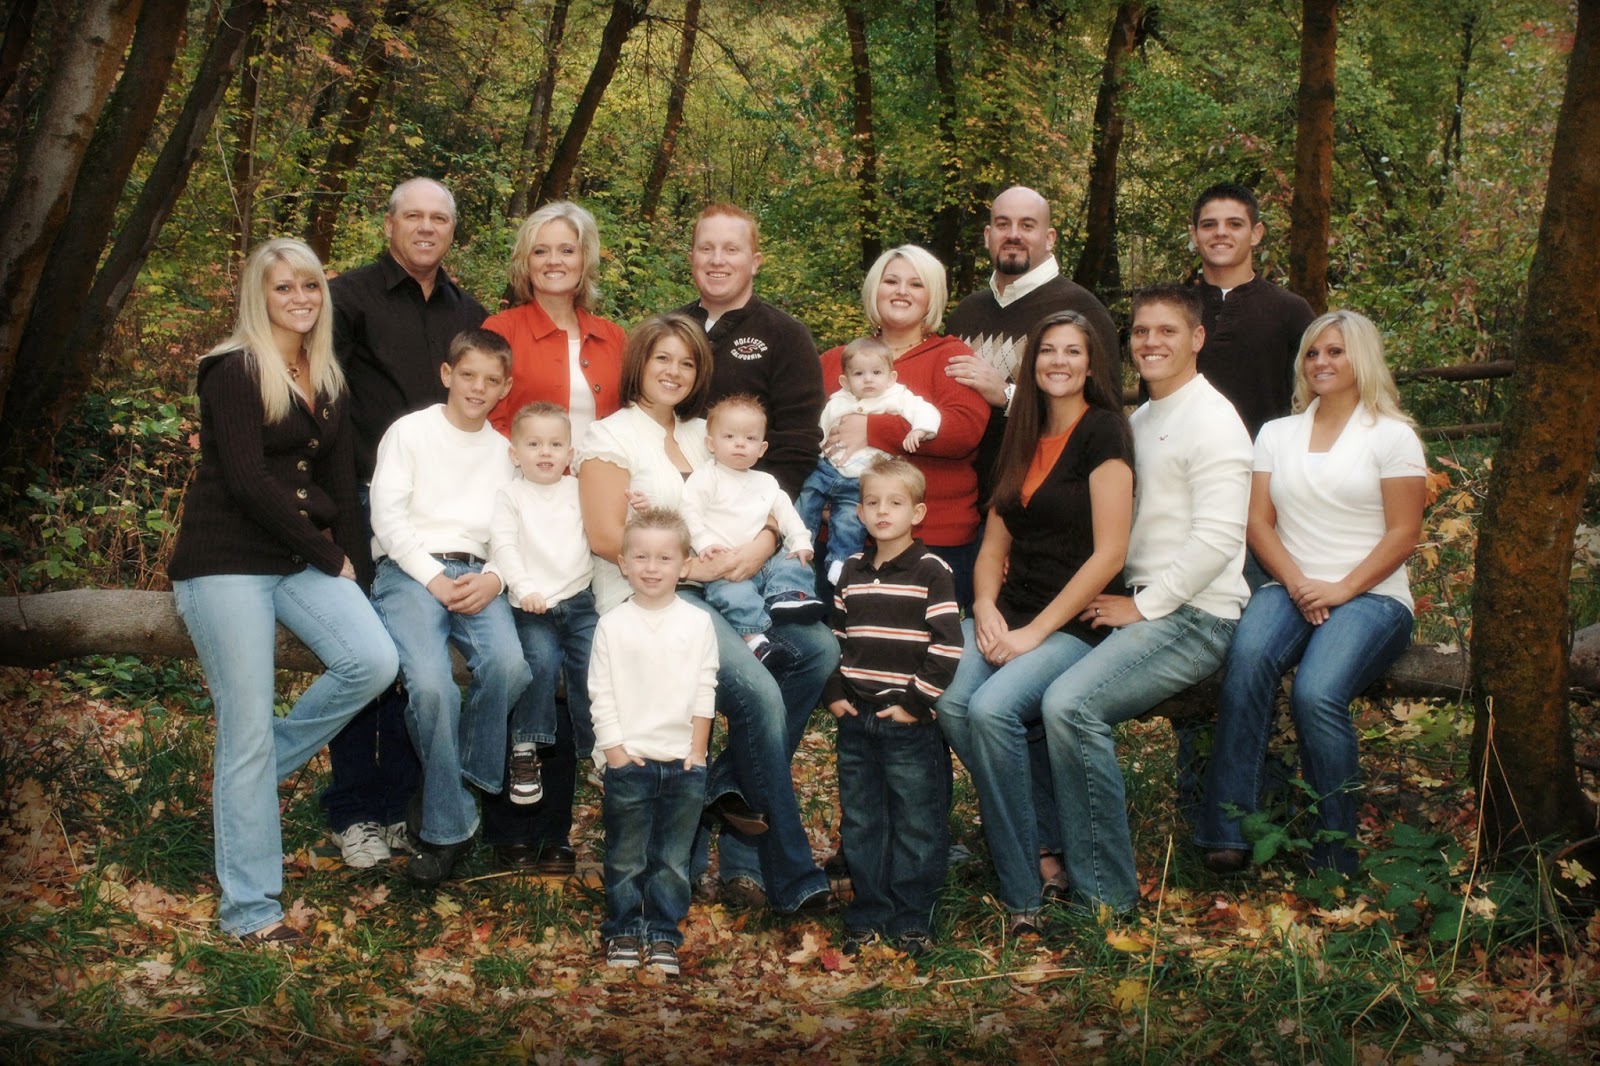
In honor of Mother's day this coming weekend, I wanted to give a shout out to my mom, Laurie. She has always been my very best girlfriend, although now that I have my spunky little girl there is a bit of competition. She has always been a great listener, whether it was talking about boys at recess, friends in high school, or now my own kids, she is always willing to listen. She always made an effort to be at all my dance recitals and cheerleading competitions while growing up. She never misses a birthday or holiday for me, my husband or our 4 kids. She was even at my bedside when I woke up in the ICU on the same day that she had surgery to have her breast cancer removed. She does all of this times 7! Seven of us kids have been blessed enough to get to have her as a mom. She truly is so amazing.
Since this picture, we've added 4 new baby girls,
one son in law and one daughter in law. 
I absolutely love being a mom and can't imagine my life any other way but being a mom isn't always easy, we don't often put our wants before our kids and sometimes it's fun to have something that's just for us, so I thought it would be fun to do a little giveaway for all you moms, aunts, sisters, and women! 
 I couldn't decide which fabric line I liked better, so I just got them both. We all do this, right? So you get to decide which bundle is your favorite plus we will give you a gift certificate up to $100 for long arm quilting!
To enter the giveaway all you need to do is leave us a comment letting us know what you love most about your mom or about being a mom. Easy as that! You can tell me which fabric you like better too if you want.
Existing and new followers can get an extra entry by following my blog on bloglovin. Just come back and leave a comment letting me know that you've done so.
Also, don't forget to leave an email address or some way for us to contact you if you win. Giveaway will be open until midnight on Friday. 

 And for the month of May we will be offering 20% off of our long arm quilting services! So now is the time to get some quilting done at an ever better price. Just email us at ChocolateDippedQuilts@gmail.com to get started. 

Also, I just signed up to use bloglovin and so far I am lovin it! Feel free to follow my blog by clicking on the link on my right sidebar or by clicking here.

Monday, April 29, 2013

Fabric Buddy


 My little red headed, fabric sorting, color choosing, mom helping, funny face making, food loving, cute boy!


Friday, April 26, 2013

Tutorial - Easy Peasy Girly Skirt

I came across this super cute bike fabric and loved it! I couldn't stop thinking about it for days so I finally went back to get some, not sure what I was going to do with it. Fast forward a few days and I am shopping for some summer clothes with my daughter. She insists on all skirts. She's a very opinionated girl when it comes to clothes (yes, we are in trouble)! After looking at a few skirts with her, the idea popped into my head that I needed to make a skirt with the bike fabric. This skirt was so easy and came together so fast, that I decided to share it with all of you. 

First: Measure your kiddo. I recommend measuring from their belly button to their knee and around their waist. You could also measure a skirt that currently fits them to get the correct sizing.


Second: Gather your supplies. My daughter is a pretty tiny 2 1/2 year old so I only needed 10 inches of material for her skirt (length wise) plus the width of the fabric off the bolt (usually about 44-45" wide). You may need more or less depending on your kid. You'll also want to get a cordinating fabric for the waistband and sash. 1/4 yard will be perfect (not a fat quarter).  The last thing you'll need to buy is the elastic. I bought 1 1/2" Heavy Stretch Waistband Elastic. You'll also need matching thread (of course) and a sewing machine.
The fabric I used is Cruzin' Bikes Fabric by Barbara Jones of QuiltSoup for Henry Glass Co. and Yellow Small Dots by Riley Blake Designs.


Third: Cut your main fabric to size. Make sure to add in an extra inch for the hem. My daughter measured 9 inches so I cut my length at 10 inches. Fold the bottom edge up 1 inch, I like to use a ruler to make sure it's even. Iron seam. Sew a quarter inch from the bottom to create hem. (You can also use a serger in this step, but since I don't have one I don't use one.) Sew each end together, this will create a big loop with your fabric. 

Fourth: Cut your elastic to the size of waist, make sure to add 1/2 inch to account for seams. Cut your coordinating fabric into a 4 inch strip for the waistband. Fold fabric in half width-wise and baste open side together. Slide elastic through the hole. Fabric will be all bunched up. I like to keep the fabric from sliding by using a safety pin. 

Fifth: Sew ends of elastic together. Unpick the basting on both sides of fabric 3-4 inches. Pull fabric away from elastic. Sew ends of fabric together with the front sides of the fabric facing each other. Fold the fabric back over the elastic and baste back together where the previous basting was. 


You are done with the waistband!


Sixth: Sew the waistband to the skirt fabric. Since both the skirt and the waistband fabric are the same length, they should match up perfectly. It can be a little hard to do this since you're dealing with elastic. I like to pull the elastic tight while I sew a few inches of waistband fabric to skirt fabric. You can see in the picture how I am holding the bunched up fabric out of the way so I can match up the fabric. After I sew a bit, I move the fabric on the elastic out of the way and sew the next section. 

Seventh: Cut another 4 inch strip of fabric from the same fabric that you used for the waistband. This will be for your sash. Fold in half and cut on the diagonal, this will create the two pieces you need for the sashes. Make sure to off center the diagonal cut if you want to tie a bow on the side of the skirt. If you want the bow in the center, then cut the diagonal half way down the strip of fabric. Sew each diagonal cut piece of fabric right sides together. Turn right sides out and iron. 

Eighth: Turn wrong sides back together and sew along the long edges. Make sure not to sew the other end shut. Turn each sash right sides out. I like to use a pencil, just stick the pencil in the hole, bunch the fabric up on the pencil, then peel the fabric down.

You should now have two sides for the sash/bow. One longer than the other. 

Ninth: Attach the sashes by sewing the straight side of one sash to one side of the waistband and sewing the straight side of the other sash to the opposite side of waistband. Make sure that the longer sash is on the opposite side of where you want to tie your bow. 

Tenth: Put it on your little cutie and watch her dance!